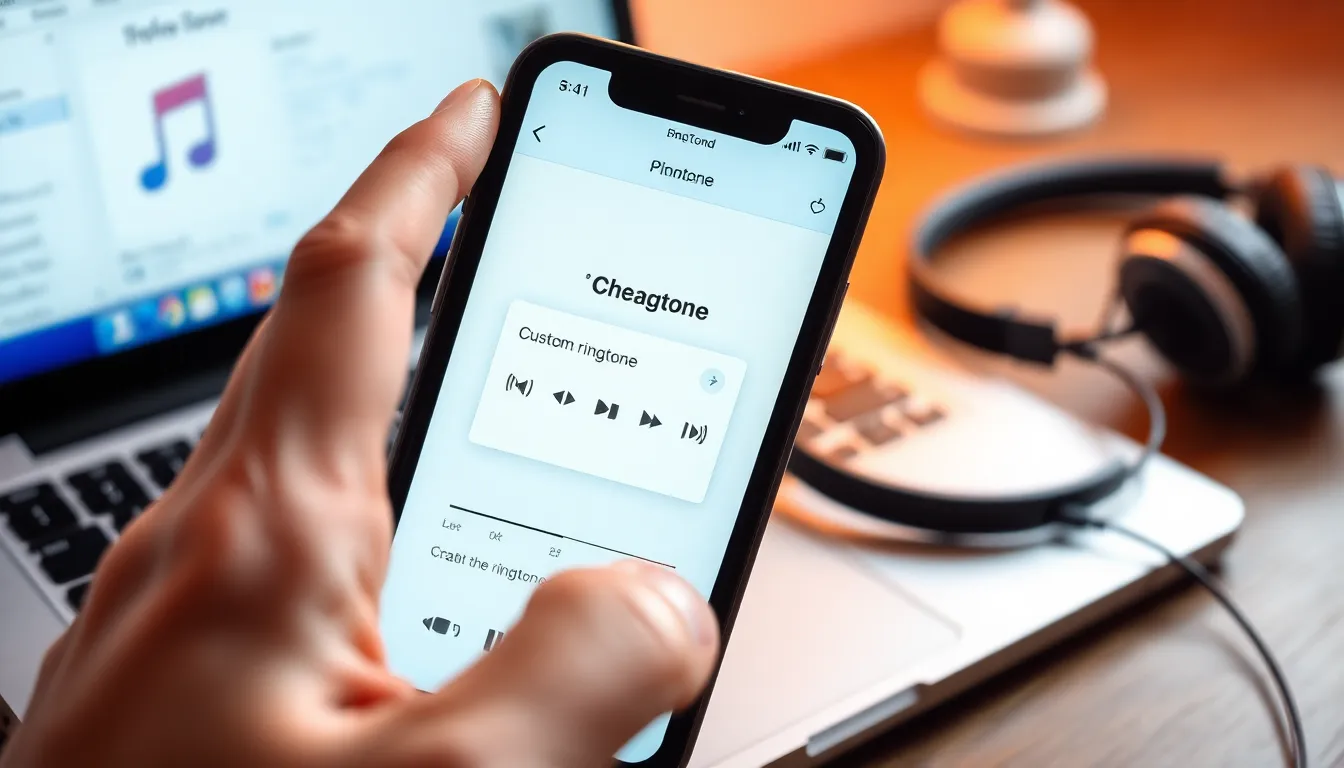
Imagine this: your phone rings, and instead of the same old generic tune, you hear your favorite song blasting through the speakers. Sounds great, right? Creating your own ringtone for an iPhone isn’t just a fun project; it’s a way to express yourself and stand out from the crowd. Who wouldn’t want to strut into a meeting with a custom jam instead of the usual “Marimba”?
Table of Contents
ToggleUnderstanding Ringtones on iPhone
Creating personalized ringtones on an iPhone involves understanding their definition and functionality. Ringtones serve as notification sounds for incoming calls or messages, providing users with a unique auditory experience.
What is a Ringtone?
A ringtone is a sound or piece of music designated to alert someone of an incoming call or message. Users can choose from pre-installed options or create custom tunes. Popular ringtones often include snippets from songs, sound effects, or even personalized recordings. Ringtones can reflect a user’s personality and style, enhancing the experience of receiving calls.
How Ringtones Work on iPhone
Ringtones function based on specific audio format standards compatible with iOS. Typically, these audio files must be in M4R format to be recognized by iPhones. Settings allow users to select ringtones for individual contacts or general notifications. Users can access and manage tones through the Sounds & Haptics menu. Custom ringtones must be uploaded via iTunes or GarageBand, providing flexibility for personalization.
Methods to Create Your Own Ringtone

Creating a custom ringtone on an iPhone enhances personal style. Several methods exist to develop unique tones.
Using iTunes
iTunes allows easy customization of ringtones. First, select a song from your library. Next, right-click and choose “Song Info” to set the start and stop times, ensuring the segment you want fits within 40 seconds. After that, convert the selected song to M4A format. Change the file extension from M4A to M4R to make it compatible with iPhones. Finally, sync the ringtone by dragging it into the Tones section on iTunes.
Using GarageBand
GarageBand provides a user-friendly platform for creating ringtones. Start by opening the app and selecting a new project. Import the desired audio file or use built-in sound effects. Trim the audio to fit within the 40-second limit. Adding effects or loops can enhance the tone further. Once finished, export the project as a ringtone by selecting “My Songs,” tapping the share icon, and choosing “Ringtone.” Save it, then sync via iTunes.
Using Third-Party Apps
Numerous third-party apps enable ringtone creation quickly. Applications like Ringtone Maker or Zedge offer straightforward processes. Users can select a song or audio clip, edit it to the desired length, and save it directly as a ringtone. Most apps allow sharing options, facilitating easy transfer to iPhone. With these tools, creativity thrives, providing endless possibilities for personalization.
Steps to Transfer Ringtone to iPhone
Transferring a custom ringtone to an iPhone involves straightforward steps through iTunes or Finder.
Connecting Your iPhone
First, establish a connection between the iPhone and computer using a USB cable. Open iTunes or Finder based on your operating system. Ensure the iPhone is detected by checking the device icon or name. After that, unlock the iPhone and, if prompted, tap “Trust This Computer” to establish a secure connection. Performing these actions allows seamless data transfer between the devices.
Syncing with iTunes
Open iTunes after connecting the iPhone. Navigate to the “Tones” section, where ringtones are managed. Drag the newly created M4R ringtone file from the computer’s folder to the Tones area in iTunes. Click the sync button to initiate the transfer process. This action syncs the custom ringtone to the iPhone, making it available for selection in the Sounds & Haptics settings. Confirm that the ringtone appears in the Tones list on the iPhone after syncing.
Tips for Customizing Ringtones
Customizing ringtones allows users to add a personal touch to their devices. Selecting the right sound is an essential first step in this process.
Choosing the Right Sound
Listen to different music genres and styles to find a ringtone that resonates. Popular options include upbeat songs, instrumental pieces, or sound effects. Selecting a clip that reflects personal taste enhances the ringtone’s impact. For calls, lively and attention-grabbing tracks often work best. Choose sounds that evoke positive emotions or memorable moments. You can also explore music libraries or download specific clips for a unique touch.
Editing and Trimming Audio
Trimming audio clips helps create the perfect ringtone length. Most ringtones should last between 20 to 30 seconds for optimal impact. Use audio editing tools to refine selected clips, focusing on the most exciting or recognizable parts. Many programs allow users to adjust start and stop points with ease. Experiment with effects and fades to make the sound fit seamlessly. Aim for a polished tone that stands out among notifications. This editing process transforms a standard song into a custom ringtone tailored to individual preferences.
Creating custom ringtones for an iPhone is a straightforward and enjoyable process that allows users to express their individuality. By following the outlined methods using iTunes, GarageBand, or third-party apps, anyone can craft a unique sound that reflects their personality.
Choosing the right audio and editing it to perfection ensures a personalized touch that stands out. With just a few simple steps, users can enhance their auditory experience and make their iPhone truly their own. Embracing this creative endeavor not only adds flair to incoming calls but also transforms a simple notification into a personal statement.


