In a world where every pixel counts, resizing photos on an iPhone can feel like navigating a labyrinth. Whether you’re trying to squeeze that family vacation pic into a text message or make room for your latest cat meme, understanding how to change photo sizes is essential. Fear not, tech-savvy adventurers!
Understanding Photo Size on iPhone
Resizing photos on an iPhone impacts usability and storage efficiency. Effective management of photo sizes enhances sharing convenience and optimizes memory usage.
Importance of Changing Photo Size
Changing photo size plays a crucial role in various contexts. Smaller images facilitate quicker sharing through messages or social media. Reduced file sizes also save storage space on devices, making it easier to manage a growing photo library. Adjusting dimensions can improve website loading times, benefiting both users and site owners. Better image sizes enhance clarity, ensuring that details remain sharp without overwhelming device capabilities.
Common Scenarios for Resizing Photos
Several scenarios necessitate resizing photos. Users often face limits on image sizes when sharing content via email or social media. Reducing file size becomes essential for compatibility with specific platforms that restrict uploads. Additionally, saving photos for printing requires specific dimensions, ensuring optimal quality without unnecessary data. Users preparing images for presentations or documents also benefit from resizing; appropriate dimensions and resolutions enhance visibility and impact.
Methods to Change Size of Photo on iPhone
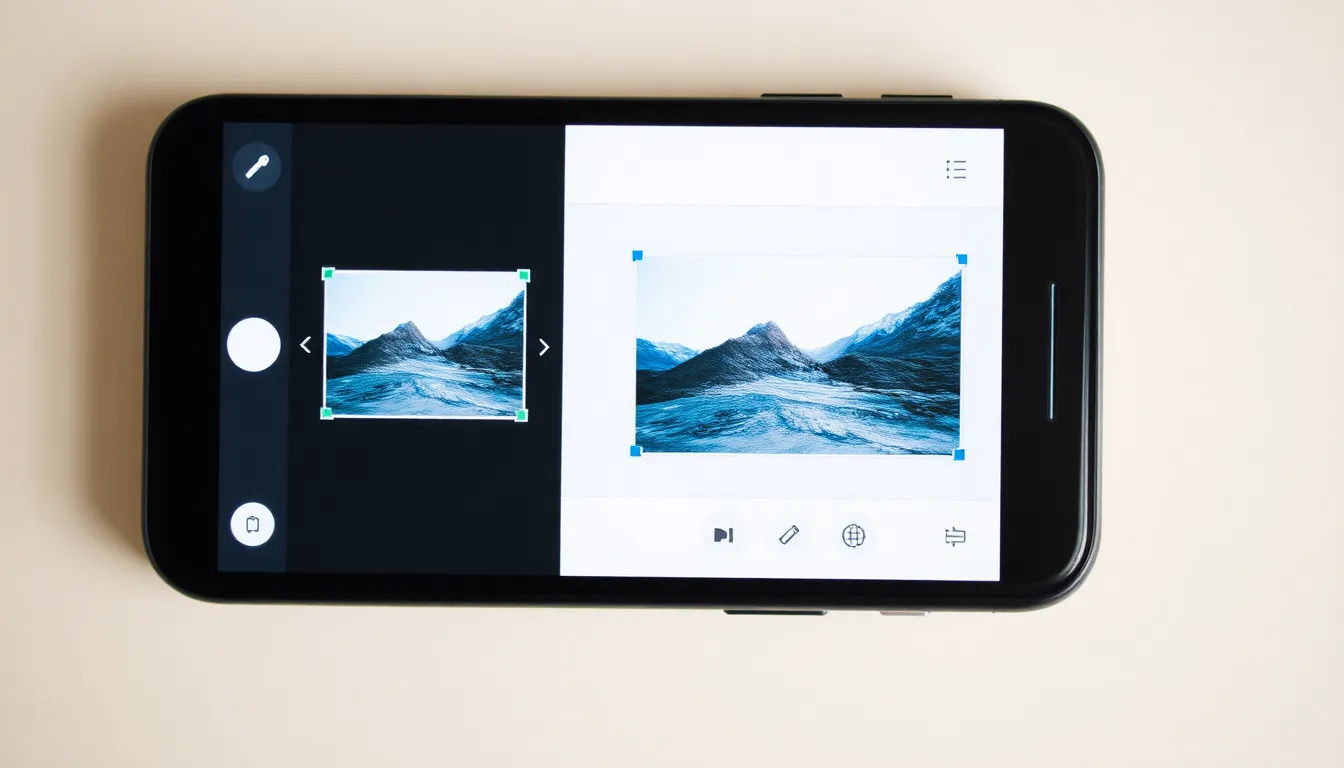
Changing photo sizes on an iPhone can enhance usability and storage. Several methods allow users to achieve the desired dimensions effectively.
Using the Photos App
The built-in Photos app offers a simple way to resize images. First, open the app and select the photo needing adjustment. Next, tap “Edit” in the top right corner. Users can then choose “Crop” from the options. From this menu, it’s possible to drag the corners of the image to resize or adjust the aspect ratio. Once finished, tap “Done” to save the changes, preserving the original file. This method ensures a quick and straightforward resizing process.
Using Third-Party Apps
Third-party apps provide versatile options for resizing images. Popular choices include Image Size, Resize Image, and Photo Resizer. When using these apps, select the desired photo from the gallery. Users can then input specific dimensions or adjust the scaling percentage. Many apps also allow file format changes, which can optimize storage space. After making the adjustments, it’s essential to save the resized image back to the gallery. This method offers more control over the final output, catering to various needs.
Step-by-Step Guide for Each Method
This section outlines methods to resize photos on an iPhone using both the built-in Photos app and third-party applications.
How to Resize Using the Photos App
Resizing a photo using the Photos app is straightforward. First, open the Photos app and select the desired image. Then, tap “Edit” located at the top right. The “Crop” feature appears next, where users can drag the corners to adjust the image dimensions. After adjustments, tap “Done” to save the changes. This method retains the original photo, ensuring no loss occurs.
How to Resize Using Third-Party Apps
Third-party apps provide enhanced resizing capabilities for iPhone users. Start by downloading an app like Image Size or Photo Resizer from the App Store. Once installed, open the app and upload the photo needing adjustment. Users can input specific dimensions or choose a scaling percentage. After customizing the size, save the resized image back to the gallery for easy access. These applications often offer options for changing file formats, further optimizing storage.
Tips for Optimizing Photo Size
Optimizing photo size involves both maintaining quality and making the most of device storage. Using the right strategies ensures that images remain clear while fitting within required dimensions.
Best Practices for Photo Quality
Maintain the resolution when resizing images. Higher resolutions ensure better clarity, especially for prints. Aim for standard sizes like 1080×1920 pixels for web use. Exporting in formats like JPEG can balance quality with file size. Consider adjusting the compression level based on sharing needs to optimize visual fidelity without excessive storage use. Keep an eye on aspect ratios to prevent unwanted cropping or distortion.
Saving Space on Your iPhone
Reduce photo sizes by selecting appropriate dimensions based on usage. Resizing images to lower resolutions conserves space while keeping essential details intact. Third-party apps enable users to batch resize multiple photos simultaneously, streamlining the process. Utilize cloud storage solutions to offload photos and free up device memory. Periodically reviewing the photo gallery and deleting unnecessary images helps manage space effectively.
Resizing photos on an iPhone is a simple yet powerful way to enhance usability and manage storage effectively. By using the built-in Photos app or third-party applications, users can quickly adjust image dimensions to meet their needs. Whether it’s for sharing on social media or preparing images for presentations, knowing how to resize photos can make a significant difference.
Adopting best practices for photo quality while optimizing size ensures that images remain clear and impactful. Regularly reviewing and managing photo storage not only frees up space but also keeps the device organized. With these techniques, users can enjoy a more efficient and seamless experience on their iPhones.